Saturday, February 7, 2015

Key West Race Week 2015

Last month there was a little shindig down in the Keys.  Of the 146 boats that entered, over 20% were form the Midwest (and Montana).  We had a strong showing from Illinois, Ohio, Michigan, Wisconsin, Minnesota and Montana (that's a stretch, I know).

It breaks down like this -

In the J70 class


Illinois - 5 boats
Heart breaker (charter).....................12th

Emperia ...........................................16th


Eagle's Wings...................................22nd


Taipan 490

(charter)................................28th


Nitemare...........................................29th

Michigan - 4 boats


B Squared (kind of).........................13th


SORRY NO PIC - THAT'S BAD PHOTO JOURNALISM
Shriner Sailing.................................24th


Aisle Salmon....(look closely)..................................41st


Zuni Bear.........................................49th

Montana 1 boat


Cloud Sourced.................................50th (it's in the background)

Ohio 3 boats


Hooligan...........................................9th


Black Seal........................................40th


Magic Bus........................................46th

Wisconsin 1 boat
Hull #378........................................42nd

Melges 24


Tramp.............................................6th


ZigZag...........................................7th


the 300..........................................8th

Melges 32


Delta............................................3rd


J111

Spaceman Spiff................................2nd

Utah..................................................3rd

Wooton.............................................5th

PHRF 2

 the Assylum.....................................2nd

IRC 1


Bella Mente........................................1st

J-88

Saralysia..............................................5th


Grateful Red

OK, that is all folks.  I hope this reaches its intended target - the sailors of the midwest.  It was a treat to be in Key west under sunny skies in 80 degree temps.  Key West was great, but in my opinion the best racing in the world is in the great lakes.  It is my intention to make Lake Michigan into the best venue for racing in the world.  It is an awesome body of water that is totally under-utilized as a destination for sailors!!  See you on the race course.

Tuesday, January 27, 2015

111 keel


J-111 Keel
Sometimes when a boat comes from the factory, it has issues.  In this J111, we had water seeping out of the leading edge of he keel where the lead bell interfaces with the hollow stainless skeg.


That junction between lead and stainless is supposed to be wrapped in Z-glass all the way around the keel.  In the interest of staying within tight tolerances of the builders keel specification, only a thin layer of fairing was used on the leading edge-no glass.  As soon as the keel flexed, the fairing failed and water began making its way into the void tank in the aft of the keel skeg.  Due to the sequence of lightweight fairing compound and glass (a thick layer of filler was put down first, then glass on top of that) there was delamination at the seam.   That became a resting place for water.

The new keels have glass all the way around the leading edge.

Ready to start taper.


What we did was grind away the glass on top of the fairing compound and then pop the fairing compound off the stainless. It came right off.  Next we roughed up the stainless and tapered the glass.


In the middle photo , you will notice we tapered the fairing/glass layer to accept new glass but we also filled the fissure between the lead and stainless with West System high density filler and 105 resin with fast hardener (it is cold in Chicago).  As that was setting up, we laid in the wetted out 1708 biaxial fiberglass cloth, before we put on the peel ply and applied heat.

Notice that we layered in graduated pieces of glass - big piece down first.
                                   

Plenty of overlap.

High density, biax, 407, peel ply in 105 resin.

Now comes the rough shaping and barrier coat
Getting the shape with 3M  Milled fiber filler.

Applying Interprotect 2000 with a super smooth foam roller - they last long enough for 1 coat.


Next we sand the IP 2000 with 80 grit to prepare for the Blato Plate (Interlux Regatta)


Finally we will hit the keel with 320, 400 and 600 grit wet dry sand paper for a baby buut smooth finish!

You may have to hit the zoom switch.

Finish product on its way to Key West!


Wednesday, August 20, 2014

One of the Crew on Chief, a Beneteau 10 R, submitted this video of Chicago Mac race. It is quite a production.

Tuesday, May 6, 2014

Lewmar 185TT Bow Thruster Installation in Mariposa

As far as modifications to your boat go, few are as satisfying as installing a bowthruster. Anybody can feel comfortable cruising around in open water, but docking in adverse conditions can be stressful for even the saltiest captain.
This winter we added a bow thruster to a 2006 SeaRay Sundancer 40 called Mariposa and now we're going to walk you through how we did it.


Step 1: Choose an appropriate thruster and install location


Given our experience with Lewmar Thrusters, we decided to find a Lewmar model that would suit the boat. Our first decision was deciding on a tunnel diameter. The smallest tunnel, at 140mm, seemed a little under-sized, so we moved up to the next option, the 185mm tunnel. We then decided on the beefier of the motor options, moving from a 3.0kw to a 4.0kw motor. This provides the boat with 5.4hp of directed thrust.


The location for the Thruster Installation
Install location is the next priority and often can be the downfall of a thruster install estimate. Bow Thrusters obviously need to be mounted as far forward as possible with the tunnel completely below the waterline for them to work effectively. Some boats will have them installed under a forward bed or even near the anchor locker. Some sailboats have a head in the bow and many things must be moved, rebuilt and re-routed to fit a bow thruster. Luckily, the layout of Mariposa allowed us full access to the subfloor with plenty of space for the thruster and all required accessories without any interior modifications required. An added bonus of the Lewmar 185TT is that the motor does not need to remain vertical and can be mounted nearly 90 degrees from vertical as long as it is supported by a bracket.

Step 2: Measure, measure, measure!

When cutting an 8" hole straight through the boat, it's very important to make it in the right place, especially when you have to cut from both sides and have them be perfectly aligned.
First we made sure the boat was level on its jack stands. Then we measured from the bow and the stern to give ourselves fore-aft marks for locating our center holes. We double-checked this by finding thru-hulls near the install location and measuring the distance from the thru-hulls to our ideal pilot hole location. Following this we triple-checked all of our measurements using plumb bobs hung from the deck as well as measuring with string from the bow eye. Once we were satisfied that we were correct in our holes (remember, we have to drill through the same location on both sides of the boat), it was time mask off and drill a pilot hole.


Step 3: Mask off the interior!

Mariposa has a beautiful interior complete with white carpeting, Corian countertops, one of the shiniest dining tables I've ever seen and spotless upholstery. The last thing we want to do when working on a boat is to ruin the interior so we masked off the entire floor with paper and hung and taped plastic to keep dust contained to the work area. We then cut the masking paper to allow access only the places we needed to work.


Step 4: Cut Holes in the Boat!
This is without a doubt the most stressful part of the process, but it has to be done. We started with a pilot hole in each side. We drilled both to 1/4" and inserted a long, threaded rod to gauge our alignment. Luckily all our measuring paid off and our pilot holes were perfectly aligned and level. If we had been off a little bit, it would not have been the end of the world. We would simply have re-measured and corrected the error. As long as our offset is less than the radius of the tunnel, the holes won't matter since all that material will be removed anyway. Since we're professionals, we were proud not to have that problem.

With the pilot holes drilled and aligned, the fun could really begin: removing an 8" diameter circle of hull. We created a crude compass using our guide rod to give us a guide line for the cut. We then fitted an electric drill with an 8" hole saw, used our threaded rod as the guide bit and went to town. Mariposa is a very well-built boat so we had to cut through nearly 2" of solid fiberglass in spots, so we took turns wrangling the drill, alternating sides from time to time so that our guide rod could do its job while we got our cut started and pretty soon we could see straight through the boat.


Step 5: Fine Tune the Hole
Once the hole was drilled it was time to switch from demolition mode to rebuilding mode. We ground out any uneven bits around the circumference of the hole and opened up a few pinch points that kept the tunnel from sliding through. We got the tunnel to fit nice and snug, but with enough wiggle room to rotate it, which is important for dry-fitting the whole installation later. Just because the tunnel fits doesn't mean that we're done with preparation for install. We still had to remove paint and barrier coat around the area and bevel the fiberglass to accept the tabbing we would be gluing on to secure the tunnel without disturbing the lines of the hull. We also took this opportunity to sand the interior of the install area to accept fiberglass and epoxy  for the tunnel install as well as the support block.


Step 6: Dry Fit

Before we glued everything up, we wanted to get everything lined up properly, so we cut holes in the tunnel for the drive unit to attach to the thruster motor and attached the thruster and drive to the tunnel. We shifted the tunnel side to side through our hole until our prop was at the boat's centerline. On a Lewmar single-prop thruster, the prop faces to Port, so the motor assembly must be shifted to Starboard to allow for proper alignment. Satisfied with our lateral alignment, we then decided how far from vertical we would need to lay the motor in order to comfortably hide and support the unit. We cut our support block, assembled everything and checked for issues.
Marks were placed on the tunnel and the interior of the hull to make sure we could repeat the exact angles when it came time to glue. We took the support block out and coated it in epoxy and over-drilled and re-filled the holes for the screw mounts to keep the block dry. We also installed the prop in the tunnel and ensured that it could rotate freely without any risk of striking the edges of the tunnel. This is an important thing to verify when there is still an opportunity to re-align the drive holes in the tunnel.

Step 7: Bond the Tunnel!

After triple-checking and disassembling the unit, we reinserted the tunnel, aligned our marks and put thickened epoxy around the tunnel, giving it an initial bond to the hull and locking in our alignment for good.
The thickened epoxy secured the tunnel but doesn't offer strength to the hull, so the next few steps are standard fiberglass steps used when attaching an appendage to a hull. We cut the tunnel near the hull and ground it close to flush. Notice in the next picture that we left a flange of about 1.5" on the forward edge of the tunnel. This is required for water flow when the boat is in normal use. Without this flange, water will force itself into the tunnel, creating noise and drag when underway. It becomes more pronounced as we continue to build up the fiberglass that bonds the tunnel to the outside of the hull.
We also need to bond the tunnel on the interior of the hull. We laid additional fiberglass tabbing around the tunnel inside the boat. This is one of those times that you remember just how important that masking step was. Running in and out of the boat with cups of epoxy can be worrisome enough, so it is nice to have confidence that any mishaps can be contained.
On the exterior of the boat, the tunnel bonding is now treated much like a standard fiberglass repair. We sanded it to shape, applied fairing compound, sanded that back down to blend our flange and restore the original strakes, applied barrier coat and antifouling. This concluded the fiberglass portion of the install. We then moved back into the boat for assembly and wiring.


Step 8: Controller Install

Lewmar Bow Thrusters can be controlled by either push-button controls or joysticks. The owners of Mariposa opted for a joystick controller, so we had to choose where on the helm to place it. Thinking of the most common docking scenarios, we decided that the controller should be as close to the steering wheel as possible for fingertip control. We also decided that when docking, the shifters would be used rather than the throttles, so the joystick should be mounted opposite the shifters to allow for the smoothest possible interface. Directly in our way was an ACR Spotlight controller which was a cinch to move and with a quick hole saw cut, a new joystick was installed on Mariposa's helm. 

Step 9: Electrical Install

Bow thrusters draw a lot of juice in short bursts, so a dedicated battery is a good idea. Again, we lucked out with Mariposa having plenty of room for a battery, charger and battery switch just aft of the thruster. The wiring is very straightforward, and the boat was already equipped with a spot on the 110V panel for a bow thruster battery charger, so all we had to do was fish the wires, install the battery, charger and switch, and plug it all in.

Step 10: Final assembly
With everything in place, it was time to mount the thruster motor and drive unit to the tunnel with sealant, lock-tite the bolts and tension them to specifications, install the propeller and anode and properly torque them. We rolled white gelcoat over our interior installation to make it a bit prettier if anyone decides to look at our handy work and cleaned up our cabling.
Step 11: Clean Up
We want our owners to return to a boat that is in better shape than they left it, so after pulling all the masking, it's time to give a cleaning to the interior to get any stray dust and leave the boat confident that everything is back in place.


Step 12: Enjoy!
The owners picked up Mariposa on Sunday and demonstrated how well the bow thruster worked for them as they pulled away from the dock.


Wednesday, April 16, 2014

Charleston Race Week 2014 Debrief - Currents and Tides

Sailing in tidal currents is something foreign to most lake sailors. However, when sailing in a harbor such as Charleston, understanding it is key.
 
Charleston is complicated in that two rivers flow directly into the harbor at a right angle to each other and there is an island in the center of the northern part of the harbor.
Before racing in a tidal harbor, checking tide tables is vital. Knowing the timing of the tides allows you to figure out when currents will strengthen and weaken as well as what to expect on different parts of the course.

Current lines can be observed in active harbors such as Charleston and San Francisco and are denoted by a foam line running along the axis of the tidal current. If you’re on a boat equipped with both boatspeed and speed over ground instrumentation, it is very easy to tell when the boat is in a new current pattern.
 
First, a primer on sailing in current. Generally, current is stronger in deeper water and lessened in shallow water, so current relief can be found over shoals, and generally near shore on un-dredged waterways.

Tides also generally switch first along the shore where the differing water level has a more immediate effect.

This means that in the middle of an ebb or flood cycle, the shore can be a relief.
At the change between an ebb or flood, the shore can produce a back-eddy or reverse current, and just after that can create a stronger current as the flow strengthens.
 
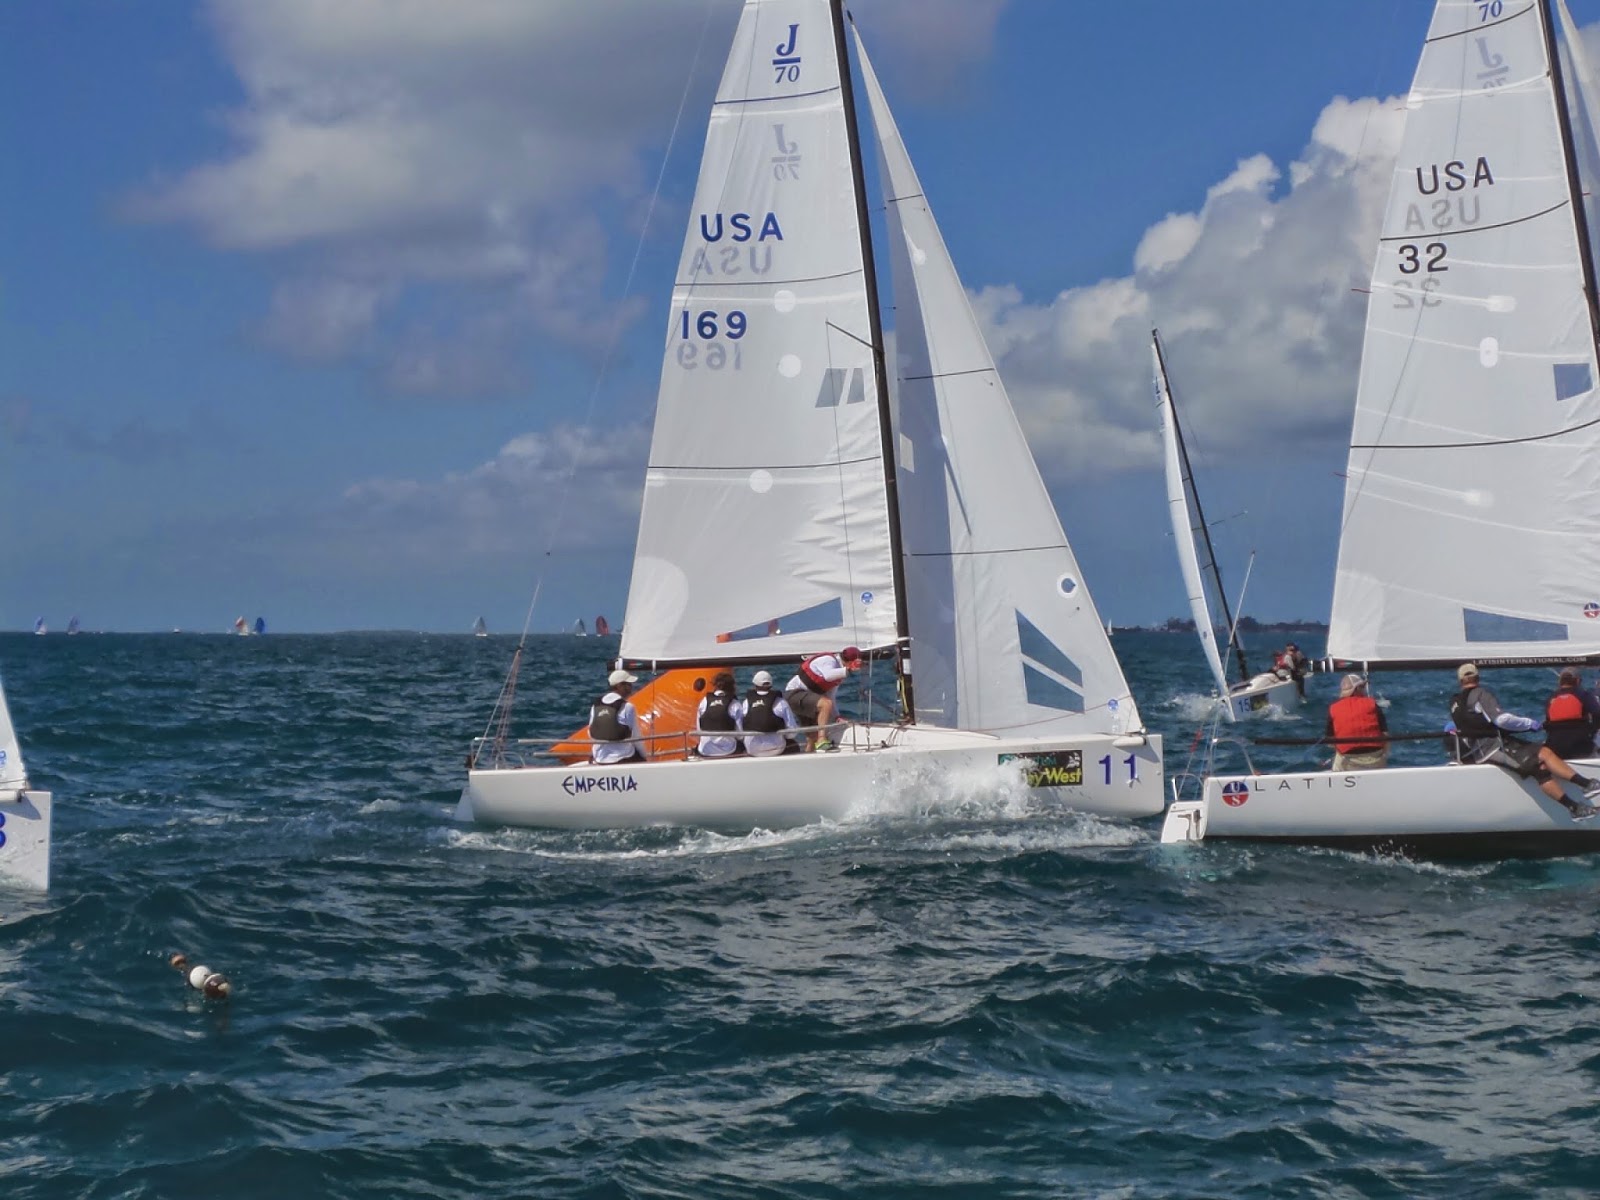
Current lines are important to understand when calling shifts up the course. On Saturday of Charleston Race Week, we sailed in a SSE breeze with a Westerly Current (Wind direction is the direction the wind is coming FROM, current direction is the direction the current is flowing TOWARD). The result of this was that boats near the Southern shore seemed to show a right shift in the breeze. However, this angle difference amongst the boats was not due to a change in true wind direction, it was a local phenomenon caused by shifts in apparent wind caused by the current and it affecting boats in the stronger Westerly flow near shore.
 
When sailing close hauled on Starboard Tack, pointing SSE, the current swept the boat sideways to the West along the shore, increasing the apparent wind speed and also moving it aft, allowing the boats to point their bows higher, thereby creating the illusion of a right shift. Similarly, boats on Port Tack, pointing WSW, were being swept mostly forward by the Westerly currents, creating an increase in apparent wind but also moving it forward, causing them to fall off and point lower, also indicating a right hand shift.
 
Recognizing that boats displaying this shift pattern were on the other side of a foam line on the water was of great importance, so that we could recognize that the right hand shift was not a mobile puff that would reach us if given more time, but something occurring on that particular patch of water and this knowledge kept us from getting tricked into wandering too far Right hoping for leverage.
 
For another critical lesson in sailing in current, watch the following videos from Sunday, where the fleet, sailing in light SE breeze with a SE current attempted to round the leeward mark. The only successful boats came in with speed and carried spinnakers past the mark. The rest of us stopped, drifted backwards while other boats behind piled up and stole the breeze, and it turned into a nice, old-fashioned raft-up. Albeit with a lot more yelling.


Wednesday, March 12, 2014

Bacardi Miami Sailing Week Debrief


Bacardi Miami Sailing Week 2014, marked the 5th anniversary of this one design regatta which offers one-design teams from around the world a chance to warm up (for Northern Hemisphere teams) and a chance to indulge in the big breeze and flat water of Winter on Biscayne Bay.

I was lucky enough to spend the regatta with J/70 #169 and really enjoy what these boats can do in the breeze.

Day 1 greeted us with 10-15kts of breeze from the SE and great racing conditions. Though we were disadvantaged due to the fact that our driver was unable to arrive until day 2, we all shifted aft one position and got out there. As with every yacht race, getting off the starting line bow ahead or at least bow even was key. We didn't nail the starts, but we managed to get up to speed quickly and find clear air. Roundings were a little rough with a guest working up forward, but in such a forgiving boat, these didn't result in anything catastrophic.

I should clarify that though the boat is forgiving, the fleet is not. These are fast boats and the speed differences between one that is completely dialed in and one that is getting there can be 2-3kts. An error that might cost you a quarter boatlength in a J/24 will cost you 10 in a J/70.
Despite the excellent race committee work, the weather decided not to cooperate. Day 1 of racing was cut short after two races when a violent storm came through, threatening the fleet with sustained high breeze, sheets of rain and a risk of tornadoes. Thankfully the RC got all the boats in and rafted before the storm arrived and the only casualty on day 1 was the rum tent.

Day 2 arrived like a lion. The wind didn't lay down much overnight so we hit the racecourse in a sustained 18-22kt breeze. After 3 general recalls, we finally got going for the long uphill slog to the top mark. It was wet and there was some pounding, but with the rig set up properly, the boat seemed to stay on her feet more often than not and even for the forward crew it wasn't uncomfortable.
At the top mark the afterburners came on. At this point the breeze was up to about 24-25kts, certainly not unmanageable but very lively. The boat submarined through waves when we were less aggressive than we should have been with weight placement and the kite really loaded up when the hull slowed down. It was imperative to keep the boat planing as much as possible, to gybe in the flat spots and to always have a hold of the vang. As soon as the boat began to heel and load, the vang had to be eased or else she went over on her side.

Many of you have broached sailboats before and probably many of you have capsized in dinghies. Let me tell you that a broach in a J/70 is about the nicest, easiest broach you can imagine. Unless the kite is shrimped, the boat only seems to heel to about 60 degrees and just holds there. No worrying about water filling through the companionway or climbing down a vertical deck to get to a halyard. She just stays there, sails flogging, crew laughing, and waits for you to sort it out. Only one broach required the spinnaker halyard to come off and even then only about 10 feet had to be eased to bring the boat back up. After that a hard turn down on the tiller and a few hard pulls on the spinnaker and we were back to speed in no time.

While we had it easy, the Melges 20 class certainly didn't. Five masts broke during racing and there is quite a gallery of wipeout photos from Boatyard Photography

Unfortunately after the breeze blew through on day 2, day 3 was a bust. We tried and tried to get a race off, but the sea breeze was fighting with some high pressure and sailable wind never materialized. Such is the nature of yacht racing, I suppose.

At the end of the event, I can say that we learned a lot, gained a lot of comfort with the boat and had a really nice time getting warm and wet for a few days.

We can't wait to have the fleet of J/70s on the water for our 2nd Annual J/Day Regatta